Adding Actinic Elements
In Dreamweaver, go to 'Actinic | Insert Actinic Content'.
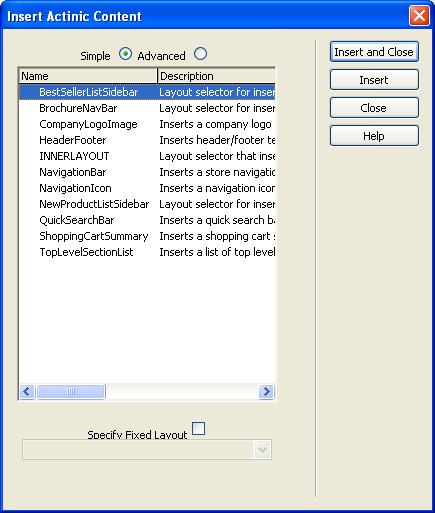
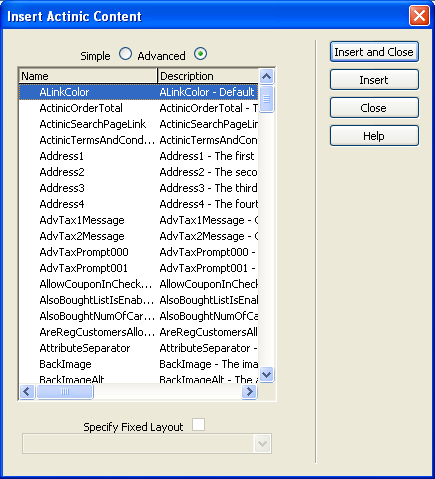
Make sure the window is set to 'Simple'. You will now be offered a list of things to copy into your design.
|
Layout Selector |
Description |
|
BestSellersListSidebar |
A list of top sellers, optimised to work in a sidebar |
|
BrochureNavBar |
Inserts a list of brochure pages into the design. |
|
CompanyLogoImage |
The logo image for your company. |
|
HeaderFooter |
Inserts either the store page header, or the store page footer into the design. You need to select 'Use Fixed Layout' to decide which one is inserted into the design. |
|
INNERLAYOUT |
Essential Insert this where you want the main page content (sections, products etc.) to be inserted into the design. |
|
NavigationBar |
The list of store navigation icons (sitemap, search, view cart etc.) Select 'Fixed Layout' to specify what sort of navigation bar you want to use in your design. |
|
NavigationIcon |
The layout selector for an individual icon. Useful if you just want a 'view cart' button or a 'search' button in a certain place. Select 'Fixed Layout' to specify what sort of navigation icon you want to use in your design. |
|
NewProductsListSidebar |
A list of new products, optimised to work in a sidebar |
|
QuickSearchBar |
A search bar and button. |
|
ShoppingCartSummary |
A little box telling you how many items are in the cart, and what the value of the cart is. |
|
TopLevelSectionList |
A list of the main sections in your store. |
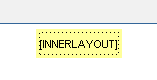
When inserting into the design, Actinic content will look like this:
Select 'Fixed Layout' for any of these if you want to insert a specific library layout in your design, rather than just using the Actinic default one.
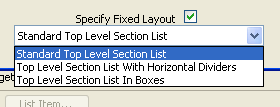
If you do this, you will not be able to change the layout of these items via 'Site Options | Layout'.
Choose 'Advanced' at the top of the window to see a full list of all the variables and layout selectors that you can insert into an overall layout. The 'Description' column explains what each of them does.